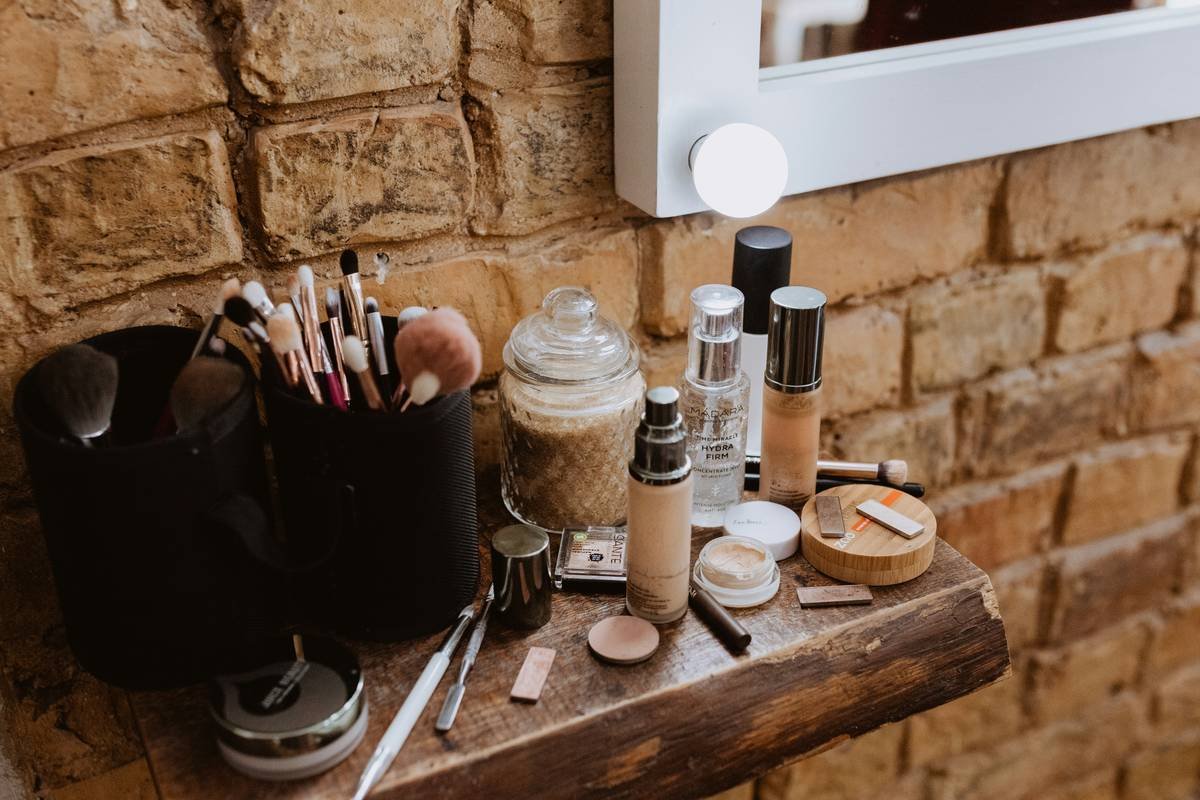
Your makeup drawer looks like a glitter bomb went off inside it. Lipsticks roll into eyeshadow compacts, brushes nestle in spilled foundation, and that one concealer you swear was just here? Gone—buried under three layers of expired blush. The frustration isn’t just messy—it’s costing you time, money, and confidence every single morning. But what if your drawer could function like a backstage artist’s station: precise, efficient, instantly accessible? Real makeup drawer organization isn’t about buying more containers. It’s about strategy.
Why Standard “Tidy-Up” Advice Fails Miserably
Most tutorials tell you to “use small bins” or “label everything.” Cute—but useless when you own 40 lip products and 12 eyeshadow palettes. The real failure? Ignoring workflow. Professional makeup artists don’t organize by color or brand. They organize by frequency of use and application sequence. Your everyday foundation belongs front-and-center. That seasonal highlighter? Tuck it away. Yet 90% of DIY organizers treat all products as equals—guaranteeing rapid relapse into chaos.
And let’s be honest: acrylic dividers crack. Foam inserts yellow. Dollar-store trays warp after one wipe-down. Durability matters as much as design.
Step-by-Step System for Lasting Makeup Drawer Organization
Forget aesthetics-first. Build function first—then refine. Here’s how:
Empty & Audit Ruthlessly
Take everything out. Yes, everything. Discard anything expired, dried out, or unused in 6 months. Be brutal. Clutter isn’t “options”—it’s visual noise slowing you down.
Map Your Daily Routine
What do you grab first each day? Cleanser? Moisturizer? Tinted sunscreen? Those items get prime real estate—top row, easiest reach. Nighttime-only serums? Bottom corner. This isn’t storage—it’s choreography.
Choose Containers That Adapt
Rigid compartments fail when your collection evolves. Use modular, stackable trays with adjustable dividers. Metal or high-grade silicone > flimsy plastic. Bonus: non-slip bases prevent sliding during drawer yanks.
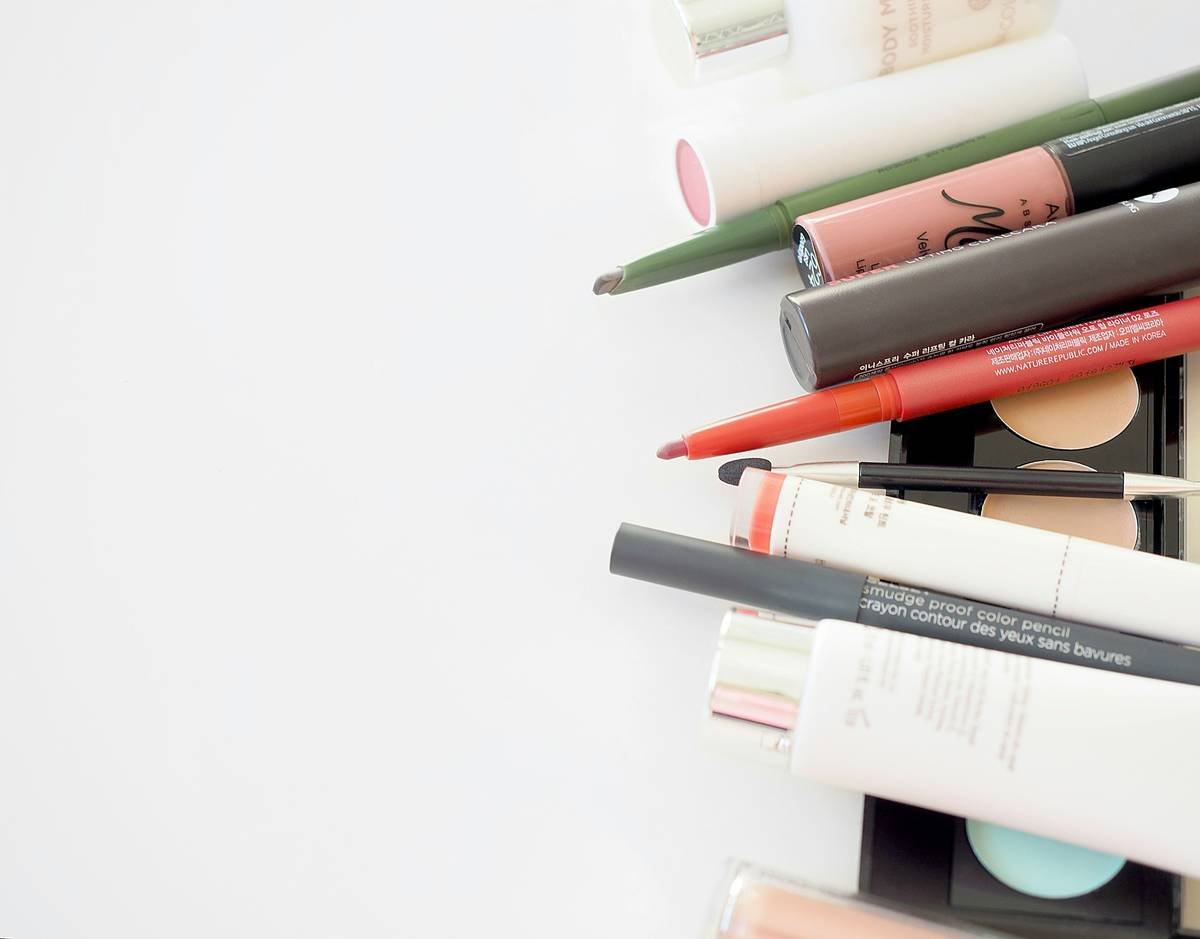
Vertical Layering (The Pro Trick)
Don’t just fill floor space—build upward. Stack shallow trays. Store flat items (masks, sheet masks) vertically like files. Stand brushes upright in weighted holders. Depth is wasted space if you’re only using the top layer.
| Organization Method | Cost Range | Durability | Adaptability |
|---|---|---|---|
| DIY Foam Inserts | $0–$5 | Low (degrades fast) | None (fixed shape) |
| Acrylic Drawer Dividers | $15–$40 | Medium (scratches/cracks) | Low (rigid sizes) |
| Modular Silicone Trays | $12–$30 | High (flexible, washable) | High (reconfigurable) |
| Custom 3D-Printed Inserts | $25–$60 | Very High | Extreme (tailored fit) |
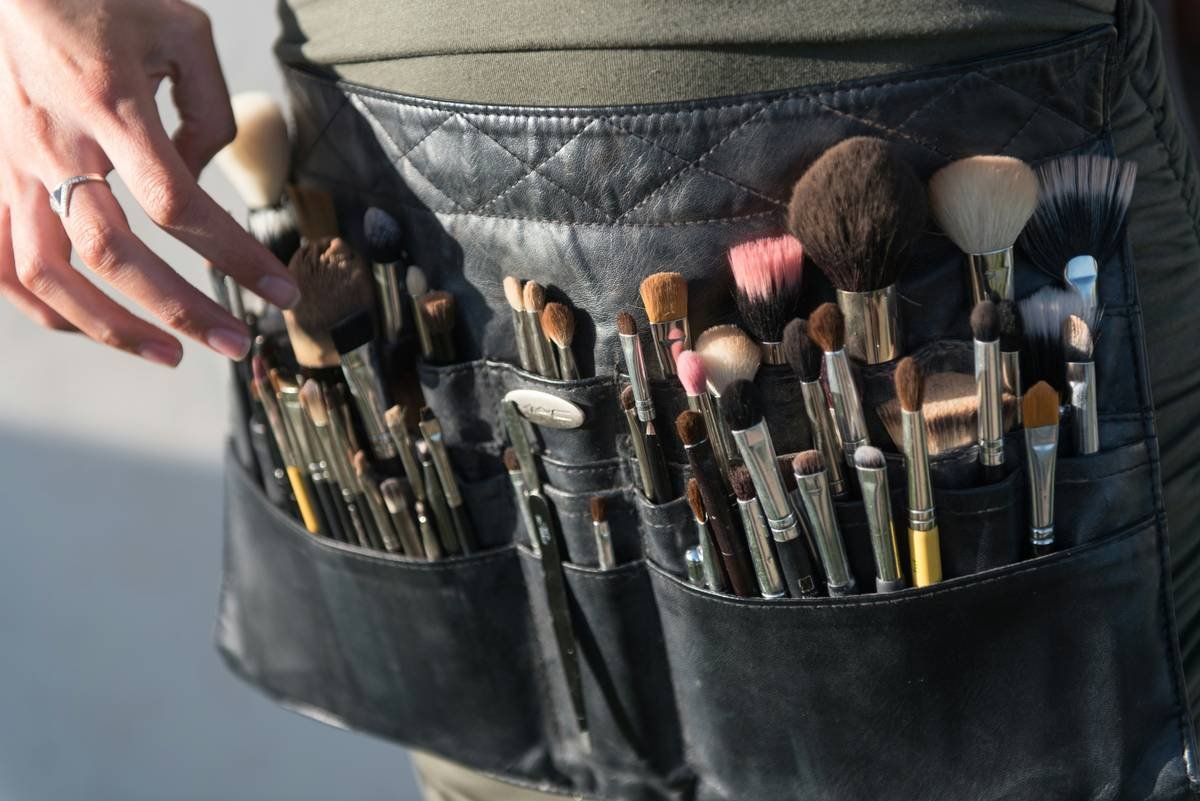
The Industry Secret: Organize by Task, Not Product Type
Here’s what no influencer tells you: organizing by category (all lipsticks together, all brushes together) forces your brain to jump between zones during a routine. Backstage pros group by task. One zone = “Morning Face”: moisturizer, SPF, concealer, brow pencil, setting spray. Another = “Evening Glam”: primer, full-coverage foundation, contour kit, false lashes. You complete entire workflows without crossing mental lanes. Try it for a week—your speed and sanity will thank you. And yes, this means that red lipstick lives next to your daytime concealer if you wear them together. Break the “rules.” Function over form.
Frequently Asked Questions
How often should I reorganize my makeup drawer?
Every 3 months—or immediately after a major purge. Seasons change; so should your layout.
Can I organize a tiny drawer effectively?
Absolutely. Prioritize vertical stacking and multipurpose products. Depth isn’t destiny—strategy is.
What’s the #1 mistake people make with makeup drawer organization?
Overbuying containers before auditing. You don’t need more boxes—you need fewer, smarter zones.